Logging In
Use the login credentials provided by ADARA Impact.
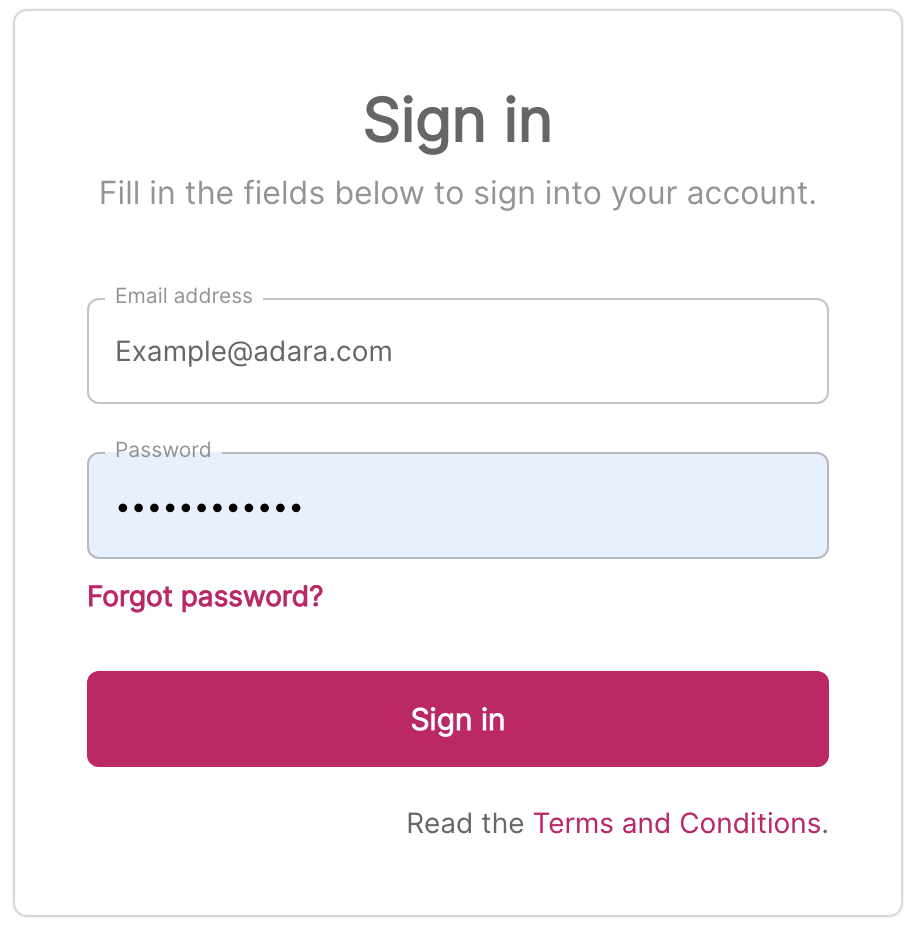
Please note that once you get the login credentials you will be asked to change your password within 96 hours (4 days). If you do not change the password, you will need to request new credentials.
Advertiser Selection
Choose your advertiser from the drop down menu at left to access Cortex Impact for that advertiser. It is likely that you will only have one option.

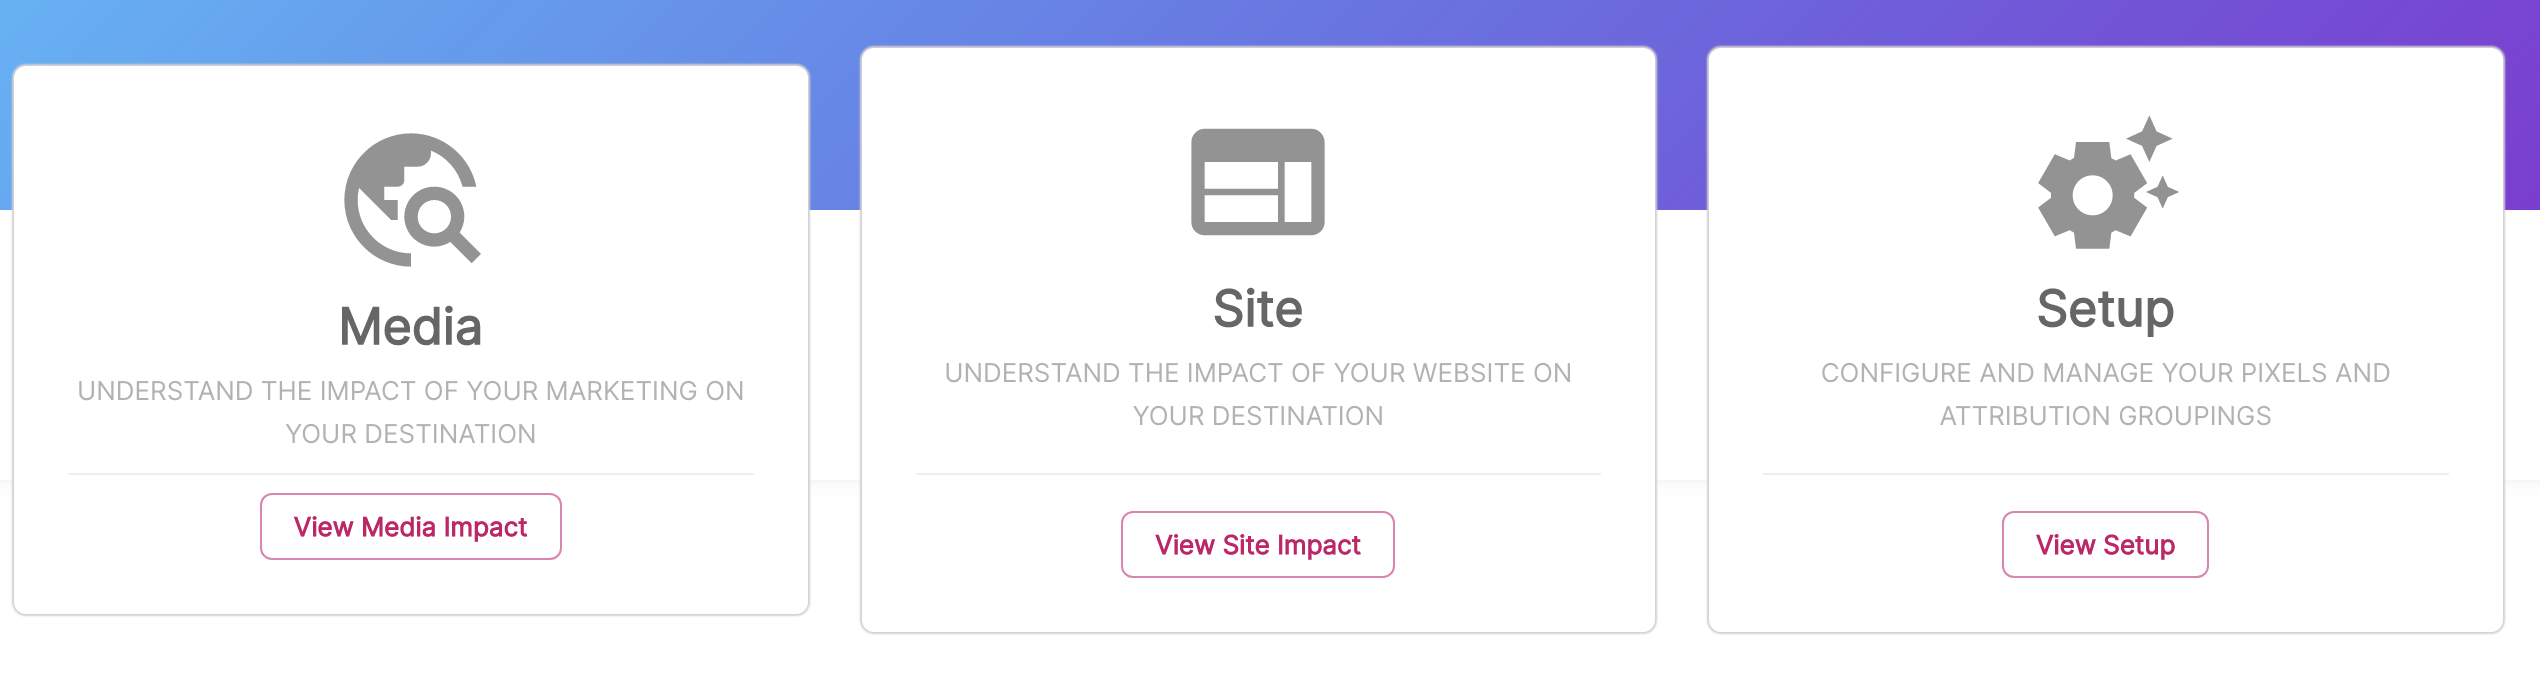
Feature Selection
Choose the Impact feature module you want to view
Features documents
Date Selection
After selecting an advertiser and feature, the user can select either the Media Impact or Site Impact option in the feature page. They can then click the date button located in the top right corner of the page header.

This will open a dialog that allows the user to select a date or CDR.
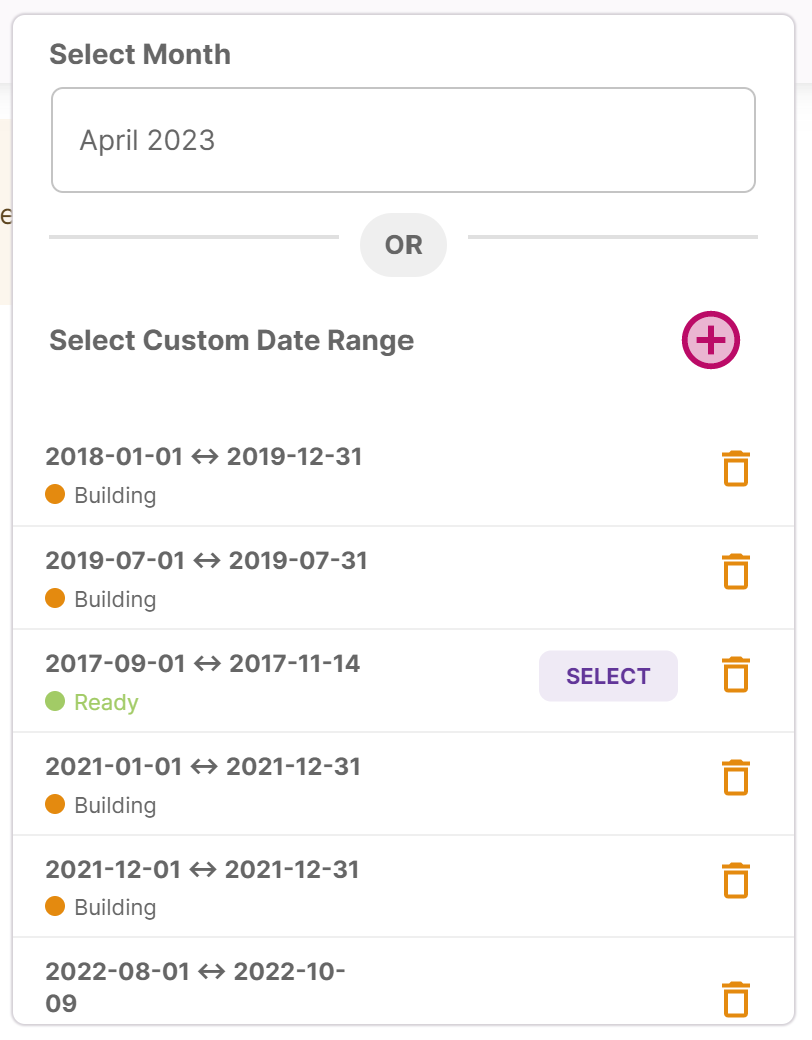
The first part of the date selection dialog allows the user to select a date from a calendar popup. They can select the year and month from the calendar and click on a specific date to choose it. Once the date is selected, the popup will be closed and the page data will be updated accordingly.

The second part of the date selection dialog is to select a CDR from the list. The list contains all of the CDRs that the user has requested. Each row in the list displays the starting and ending dates of the CDR. If the CDR is ready to use, it will be displayed in green color; otherwise, it will be in building phase. In addition, each row has two buttons: one to select the CDR and another to delete it. When the user selects a CDR, the popup will be closed, and the page data will be updated based on the selected CDR.

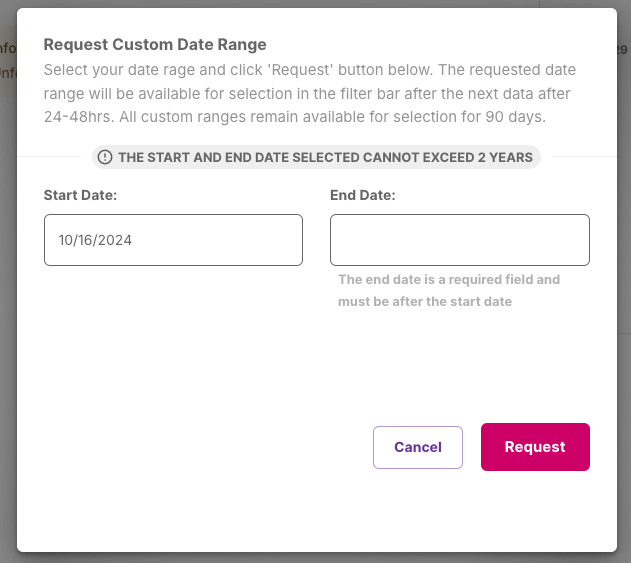
The third part of the date selection dialog allows the user to create a new CDR by clicking on the + button. This will open another dialog that allows the user to select the start and end dates for the new CDR. The start and end dates cannot exceed two years, and the end date must be after the start date. After the user clicks on the request button, the new CDR will be added to the CDR list in the date selection dialog with a building status
In summary, the Date Selection allows users to select specific dates or create custom date ranges for their data analysis needs. The feature is accessible through the date button located in the top right corner of the page, and it consists of three parts: selecting a date, selecting a CDR, and creating a new CDR
Quick Icon Guide
Your guide to the purpose and functionality of icons and images repeated throughout the ADARA Cortex Impact Suite
Hover on this image for more detail about the report you are viewing. | |
Shows the month of the data you are currently viewing. Select the month to change the date or create a custom date range. | |
Download a copy of your report to Excel. | |
Attribution period for the time frame viewed has not yet closed. | |
Toggle between viewing data around hotel and air travel. The icon with the fuchsia background is the one you have activated. | |
Shows the Media Partner you have selected. Select the dropdown to view individual Media Partners. The default is All Partners. |